so, sometimes you have an entire project planned for the end of the semester for your students only to find out that you neglected to book the lab enough days. after pleading with your media specialist you find that the computer situation will remain hopeless - as everyone and their brother is using the computer lab to schedule end of course exams. so, you have 24 hours to figure out an alternative project for their remaining 6 class periods (one of which will be spent painting their ceramic portraits). what do you do?
after much deliberation it hits you - 'lil wheezy!
okay, so maybe it didn't happen like that. my students had just finished up some play with color so i thought portraits would be a good segway. unfortunately we don't have time for a large unit. so, i thought students could grid off their own photographs and concentrate on painting the values. to play with the theme of values i thought students could imbed their own values into their finished pieces. i can't take full credit for the lesson plan, the
middle school project i saw on the incredible art department website was a great sparker.
 |
| example assignment with embedded values |
So I set forth to design something which incorporated the formal element of values, the identity component of portraiture, and the conceptual connection of values. Because I knew I know I'll have to take students photos tomorrow (in order to have time to print them, etc) and I knew they'd need some practice (despite our lack of remaining class time) I decided to create a couple of "paint by number" examples using celebrity portraits. Initially the plan was just to use Mona Lisa, then I thought mixing in some pop culture examples would be more fun. Here's who I came up with.
To get to this point I imported each image into photoshop, converted them to grayscale, then colorized them under the adjustments settings (I wanted students to work mostly monochromatically). After I did this initial processing I cropped the images into square compositions (because I like them) and then did a little cutout filter magic.
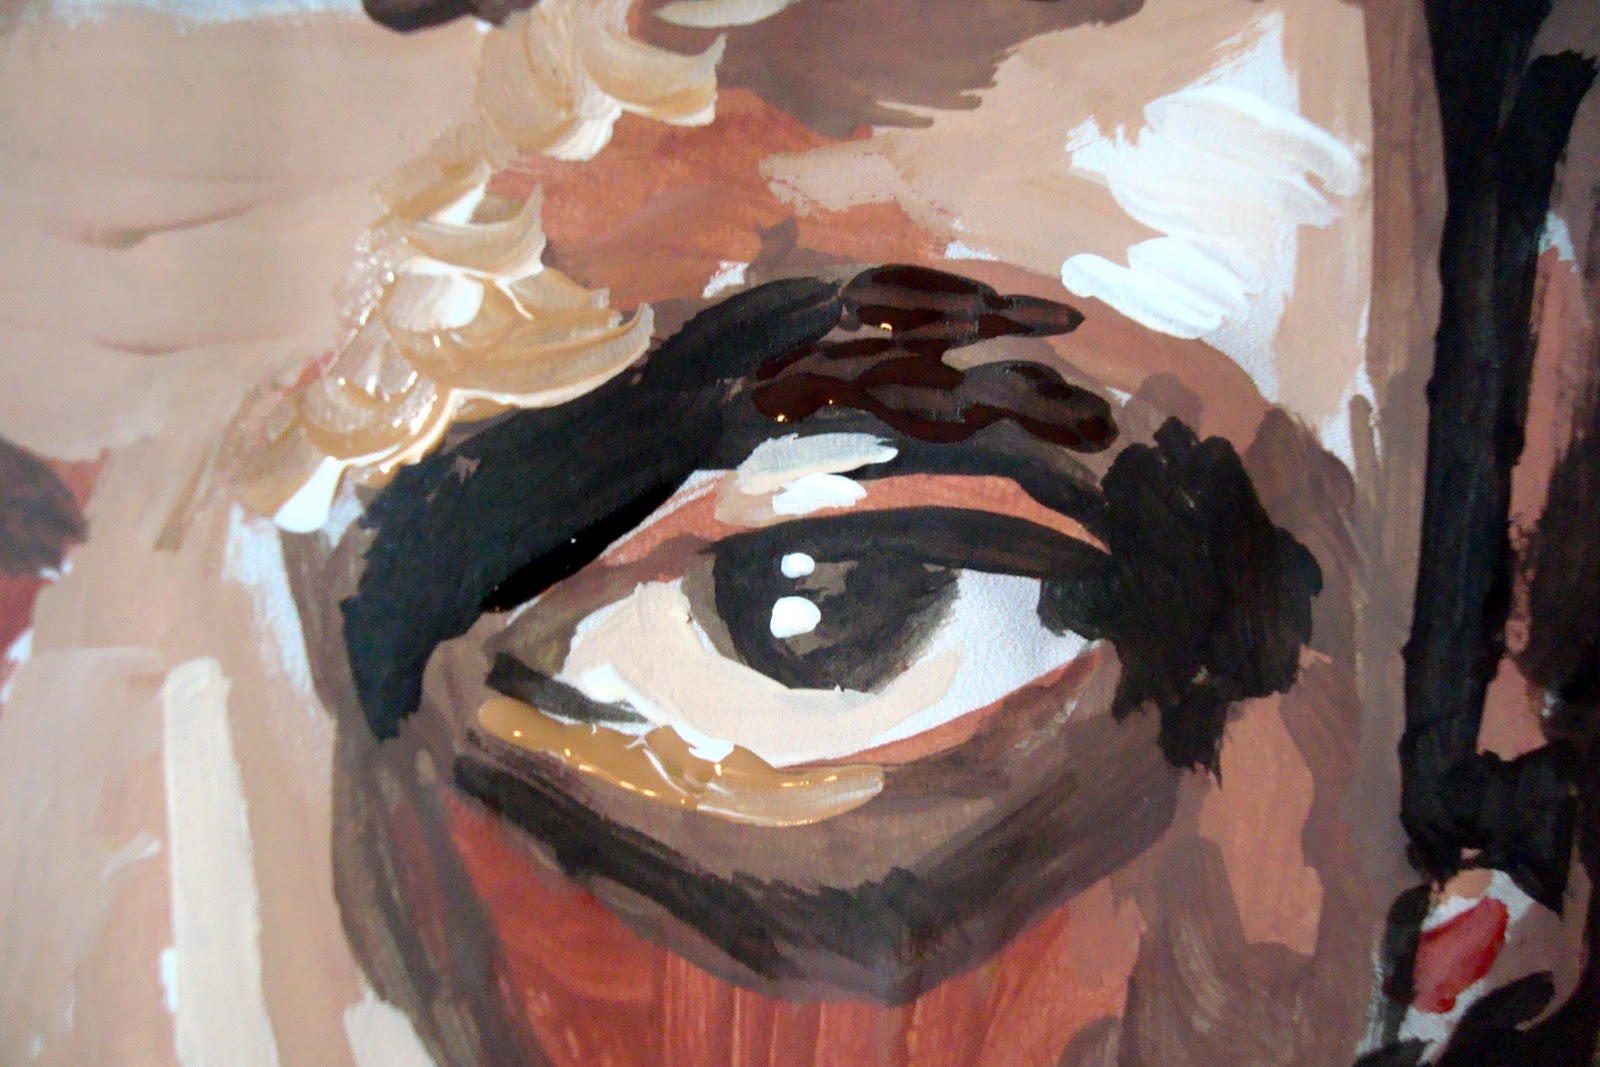
After this I thought I'd make a coloring book version template for the students by tracing the main features of the images and having them paint on top of the worksheet. This, however, didn't turn out so hot as my drawings looked awful and I knew they would not escape the relentless scrutiny of my high school students. So, I decided to do something crazy - why not paint directly on the photograph?
This was my first attempt - about 5 x 5 in size. Entirely wayyy to small. I decided to try and work bigger and to begin by printing off a copy of the photograph with a very low opacity (so that it was very translucent). Here's how it progressed:
Ok, so, maybe his tattoos look a little like chocolate drips - but i wanted it to be really expressionistic. Guess I won't escape teasing after all.
... wish me luck!